


Manage Post, Post Formats and Categories
Add category
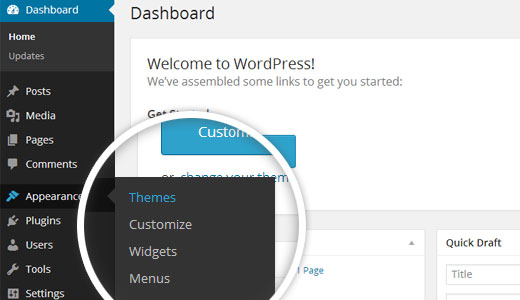
- Access your WordPress Dashboard by logging in.
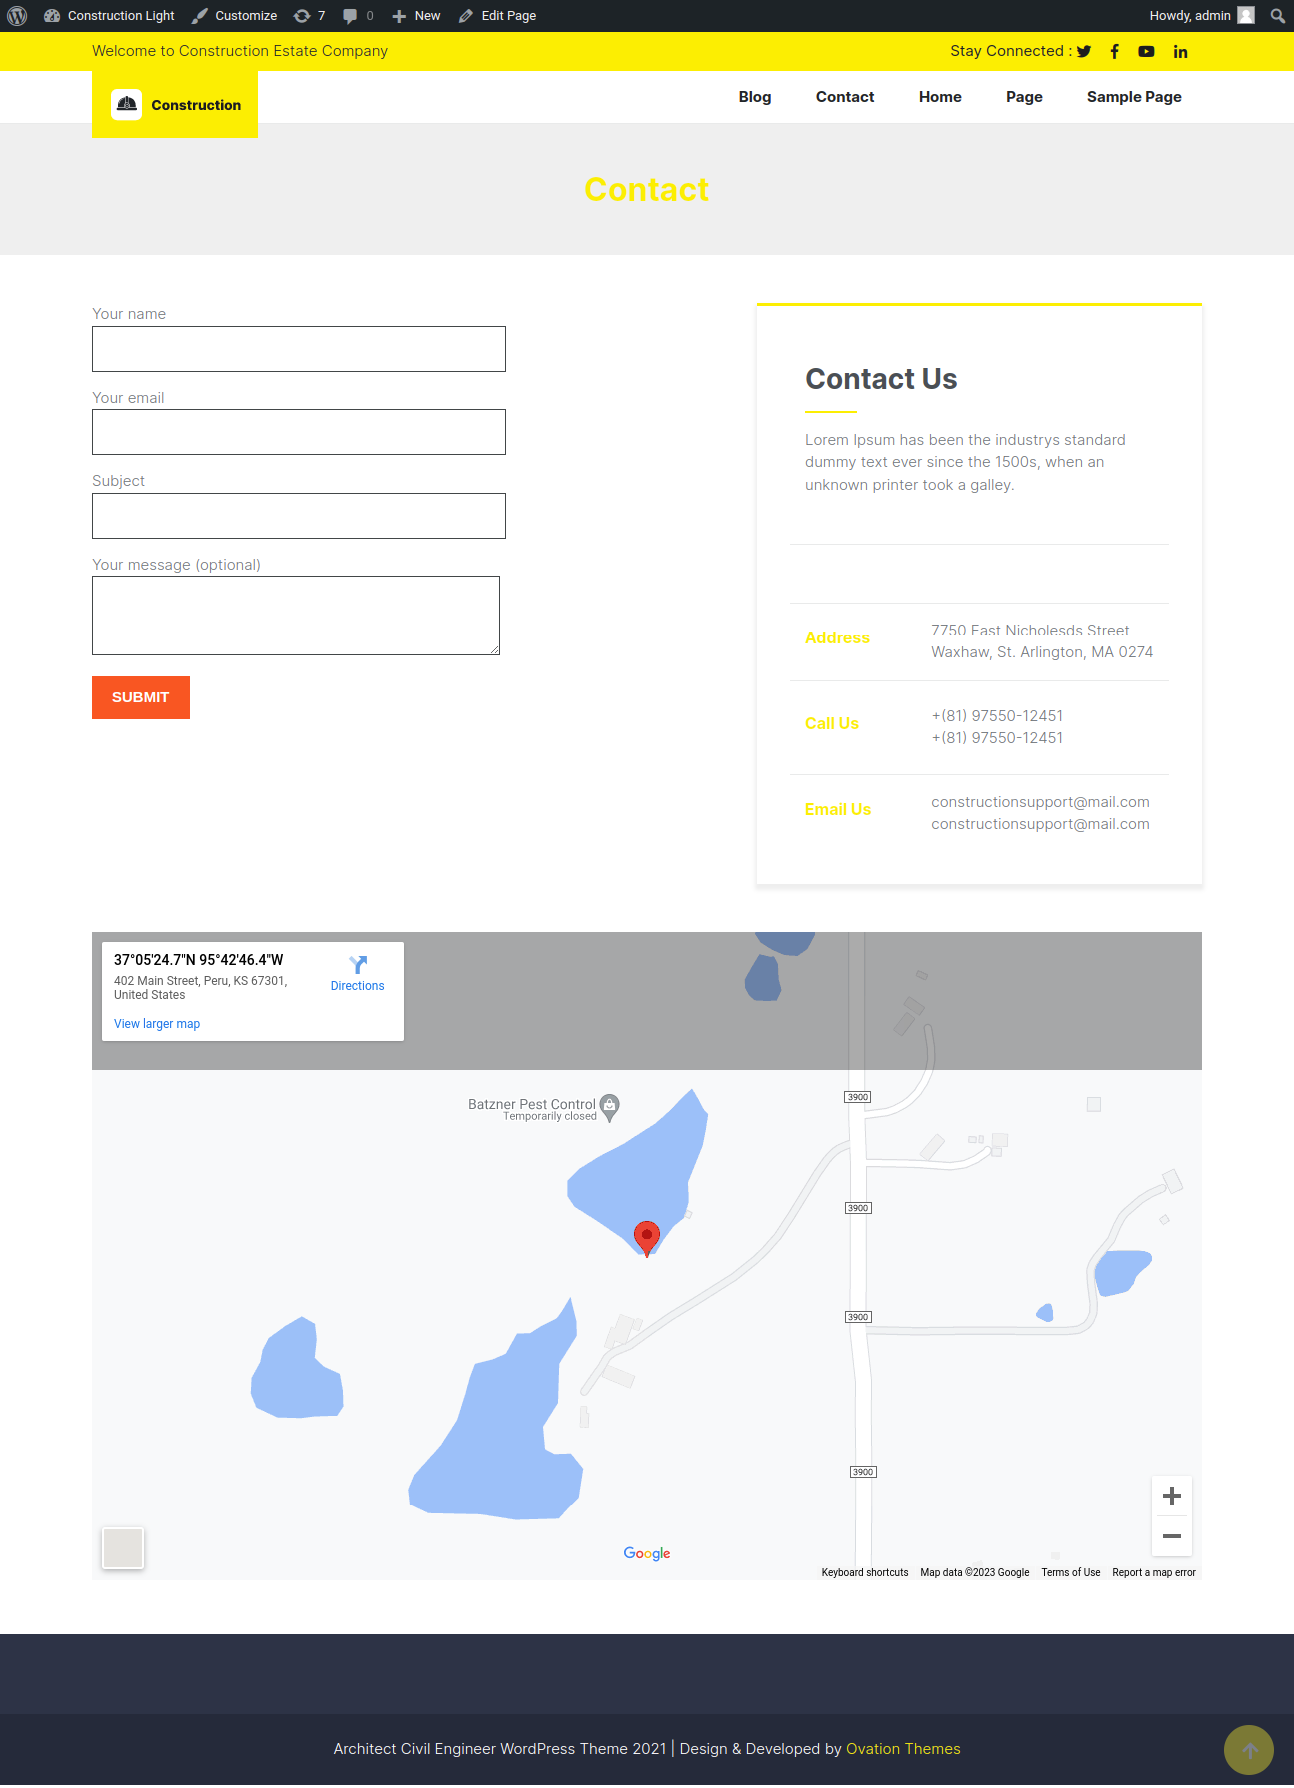
- Click Posts tab.
- With that done, click Categories for Organic posts.
- Type in the name of your new category.
- After that, click on Add New Category button.
- Click Publish button.
Creating a Organic post
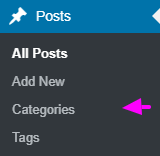
- Access your WordPress Dashboard by logging in.
- Click Posts tab.
- Click Add New tab.
- Type in your post content.